
Where to Find It
When you open ReelCut Studio for the first time, you will see the Welcome Screen. This is your starting point for creating a new video or opening a previous project.
Creating a New Project
1. Click the New Project button on the Welcome Screen 2. Choose your video format: - 16:9 Horizontal — wide format, like a TV or YouTube video. Best for property walkthroughs and listing tours. - 9:16 Vertical — tall format, like an Instagram Reel or TikTok. Best for social media content. 3. The editor loads with an empty timeline, ready for you to add your media
Opening an Existing Project
Below the New Project button, you will see your Recent Drafts — projects you have worked on before. Each draft shows its name and when it was last edited (for example, "2 days ago"). Click any draft to reopen it with all your previous work intact.
Your First Look at the Editor
Once your project loads, here is what you will see:
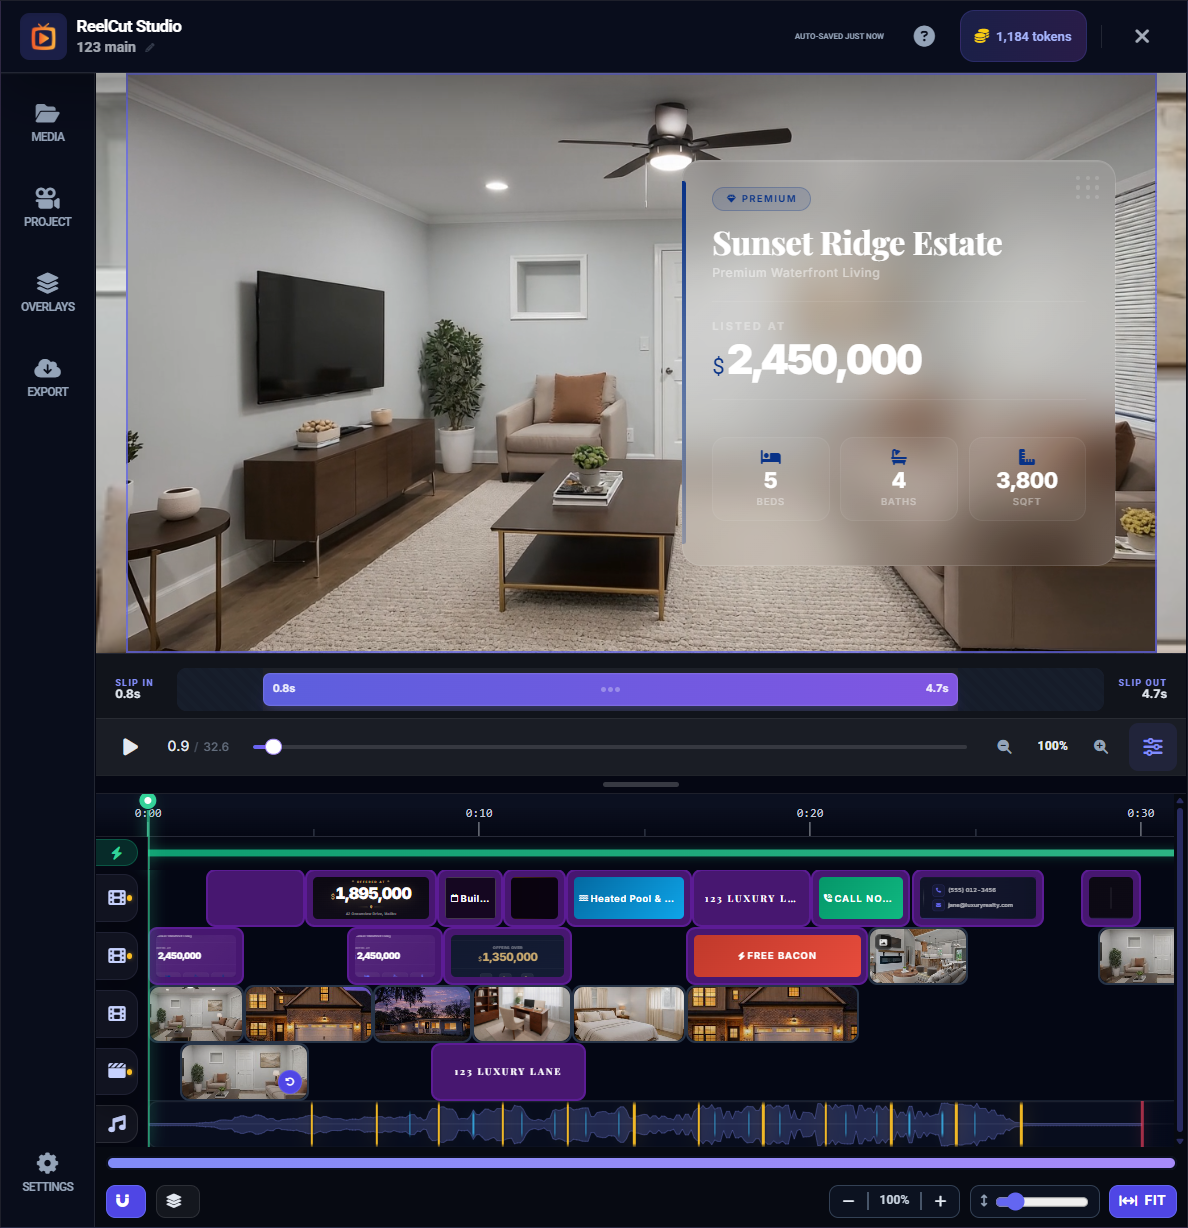
- Preview Area (top center) — This is where your video plays. Think of it as a TV screen showing your work in progress.
- Timeline (bottom) — A horizontal workspace where you arrange your clips from left to right in the order they will play. Like laying out photos on a table.
- Left Sidebar — Panels for your media library, overlays, project settings, and export options. Switch between them using the icons on the left edge.
- Header Bar (very top) — Shows your project name, auto-save status, token balance, the help button (?), and a close button (X).
The Header Bar

The header bar runs across the top of the editor. From left to right you will find: the ReelCut Studio logo, your project name (click to rename), the auto-save indicator, the ? help button, your token balance, and the X close button.
The Left Sidebar

The left sidebar has five panel buttons. Click any icon to open that panel:
- Media — Your uploaded videos and photos
- Project — Project-level settings like aspect ratio
- Overlays — Text overlays, image overlays, and title cards
- Export — Export and download your finished video
- Settings — Layout options like alignment guides and theme
Adding Your First Clips
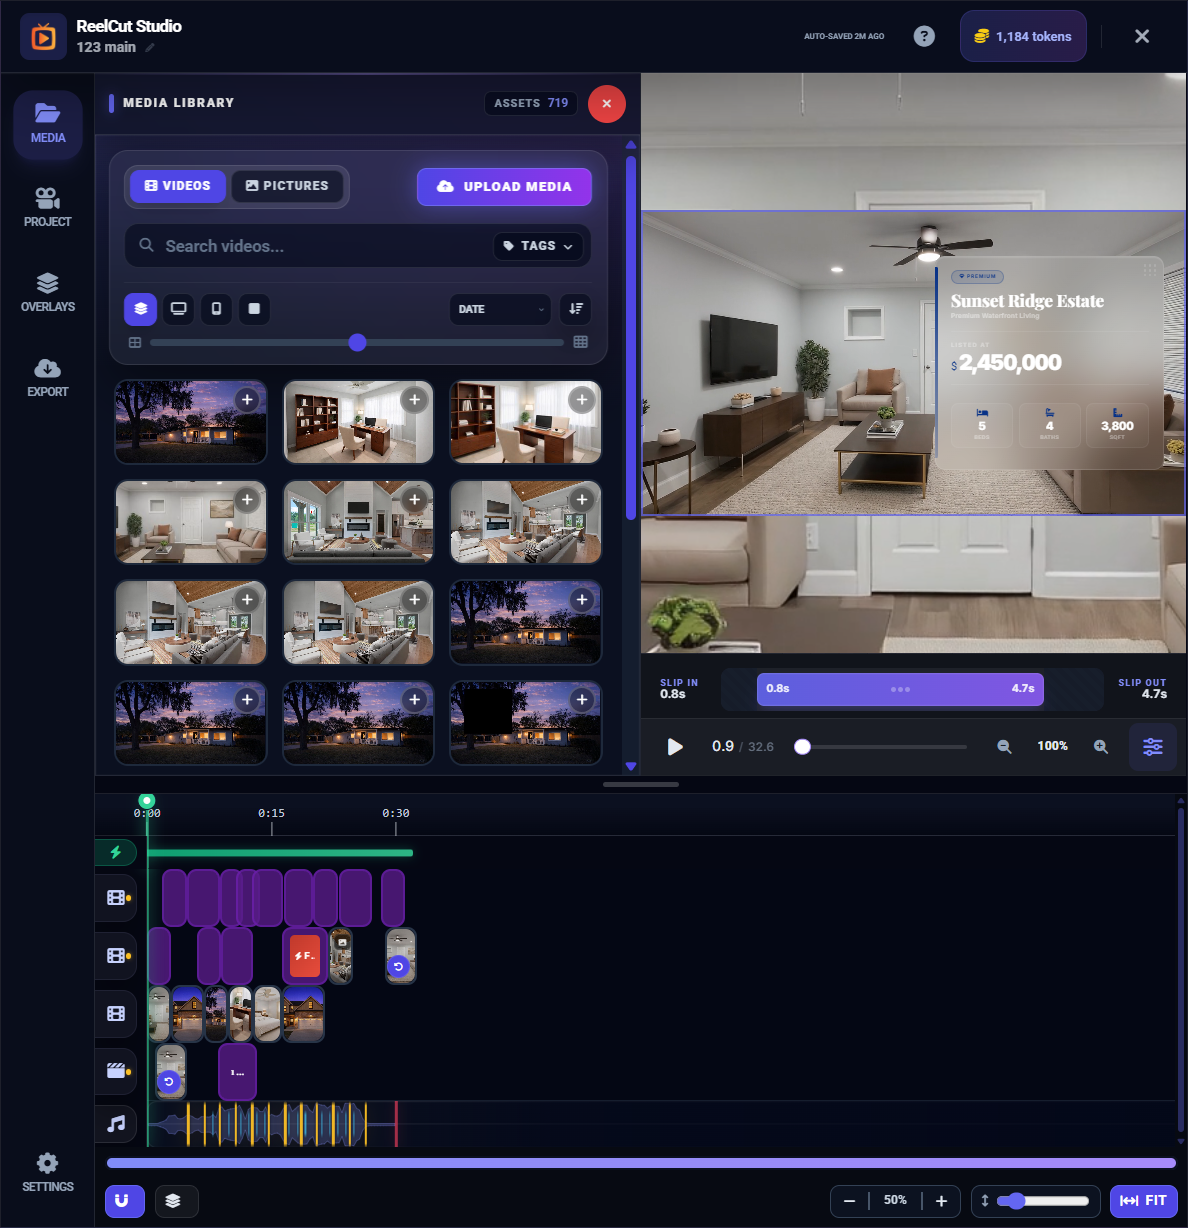
- Click the Media icon in the left sidebar to open the Media Library
- Browse your uploaded videos and photos
- Click a video or photo to add it to the timeline
- Repeat to add more clips — they will line up left to right on the timeline
- Press the Play button to preview your montage
That is all you need to get started! From here, explore the other help articles to learn about trimming, adding music, overlays, and exporting your finished video.