
Where to Find It
The editor layout is the main screen you see whenever a project is open. Everything you need is organized into distinct areas.
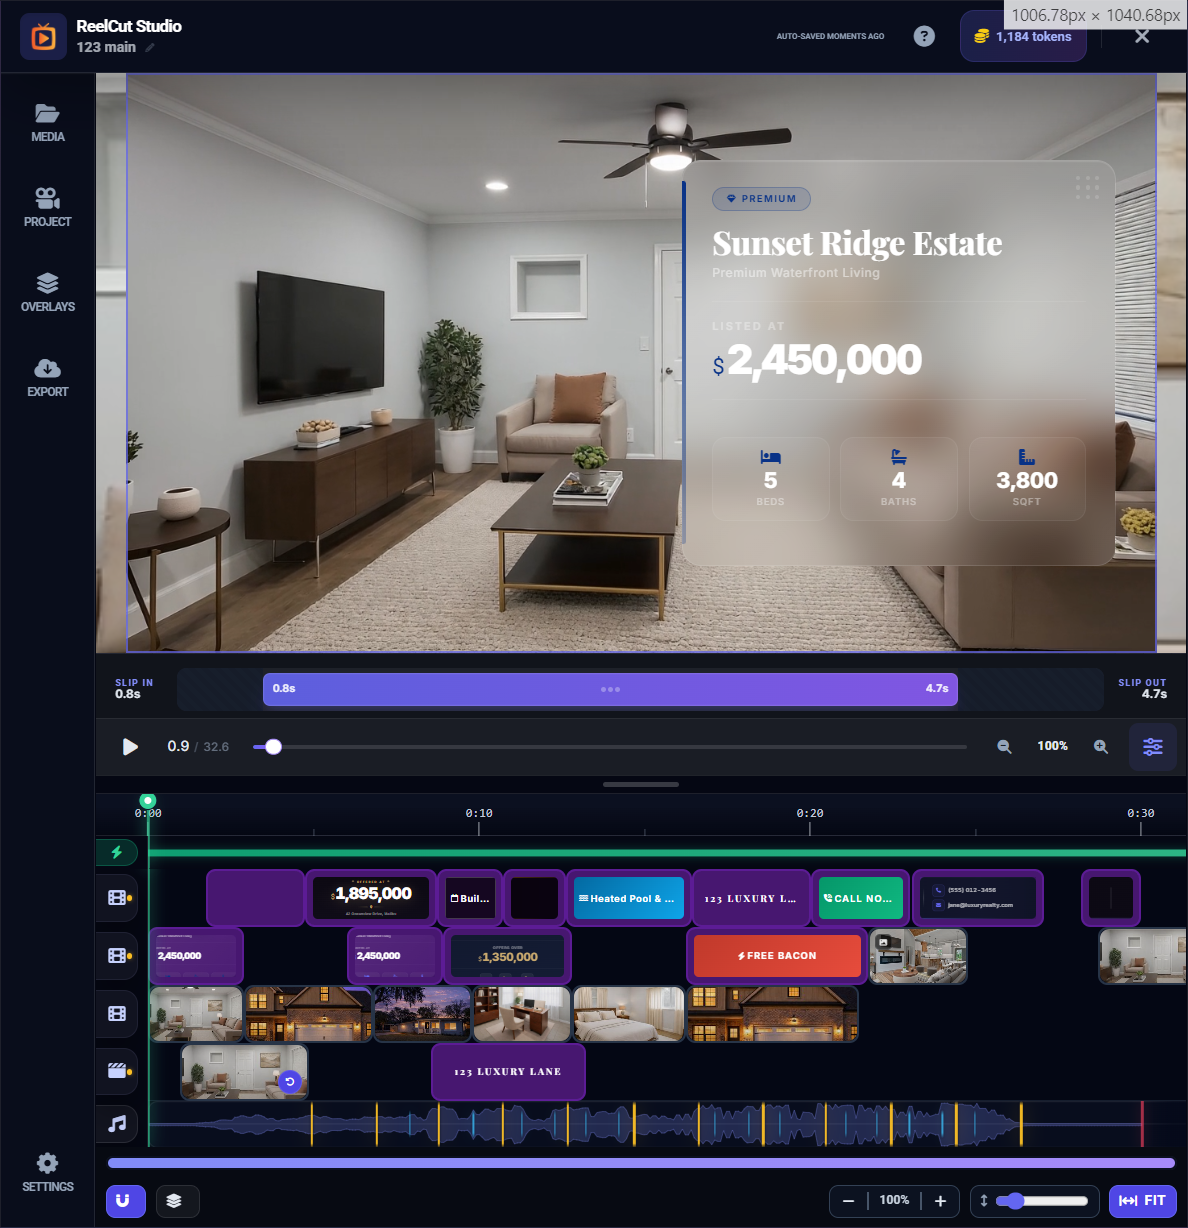
The Header Bar

The Header Bar runs across the top of the editor:
- ReelCut Studio logo and project name on the left — click the name to rename your project
- Auto-save indicator — shows "Auto-saved 2 minutes ago" so you know your work is safe
- Token balance — displays your available tokens (the coin icon). Click it to purchase more tokens.
- ? Help button — opens this help panel you are reading right now
- X Close button — exits the editor (your work is saved automatically)
The Left Sidebar

The left sidebar has icon tabs that switch between different panels:
- Media Library (folder icon) — browse and add your uploaded videos and photos
- Overlays (layers icon) — add text, images, and title cards on top of your video
- Project Settings (gear icon) — configure project-level options like layout mode
- Export (download icon) — render and download your finished video
- Settings (layout icon) — theme, alignment guides, and snap options
The Preview Area
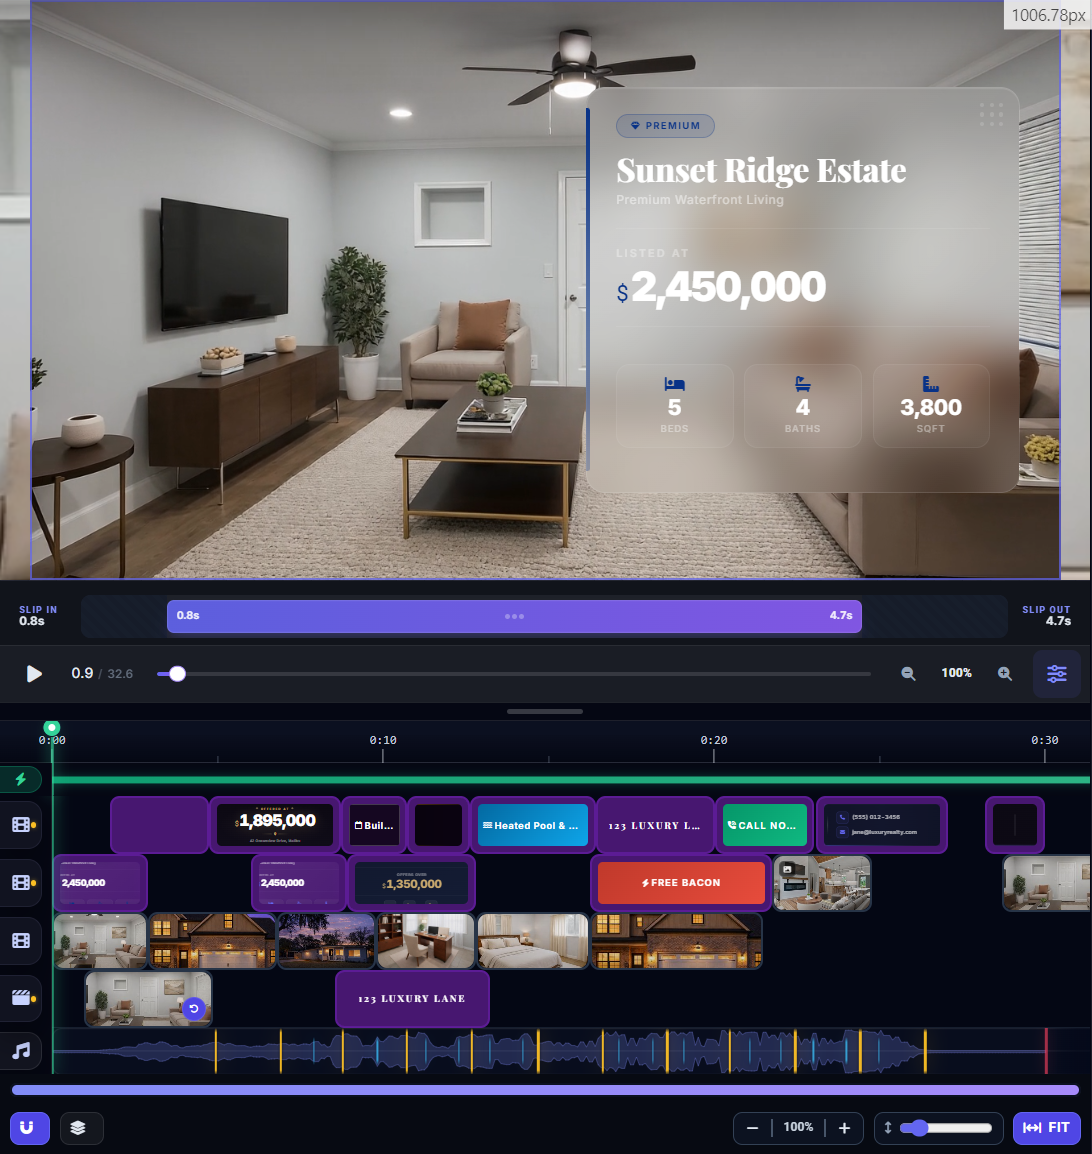
The Preview Area takes up the center/top of the editor. It shows a live preview of your video at the current playhead position. Below the preview, you will find the Playback Controls:
- Play/Pause button — start or stop playback
- Time display — shows the current time position in your video
- Playback settings (gear icon) — access loop, mute, and auto-play options
The Timeline
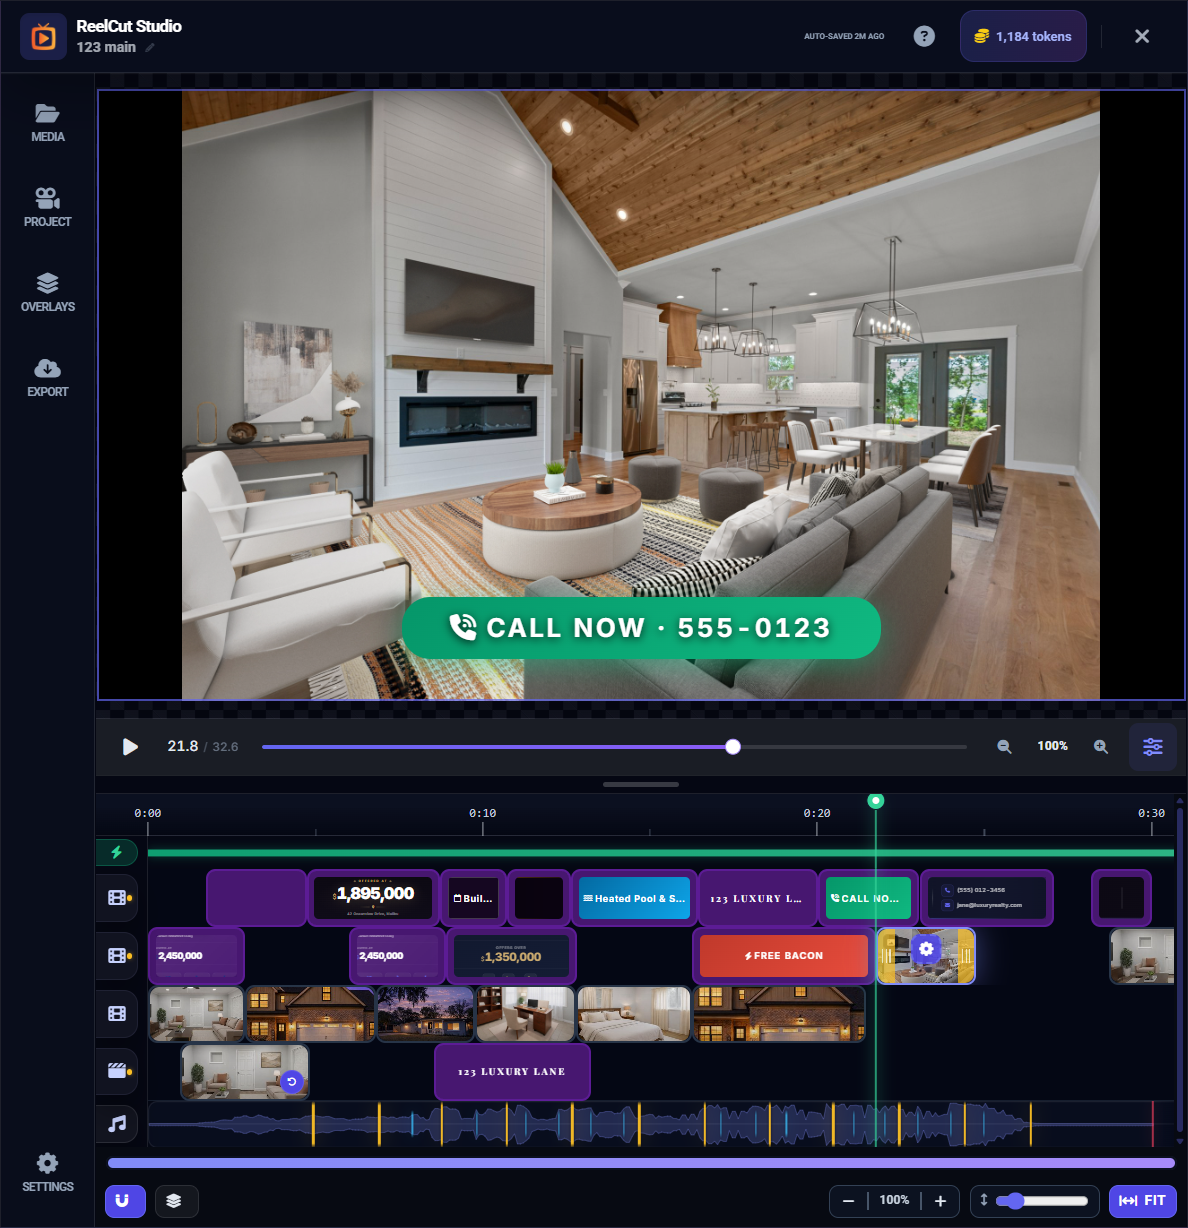
The Timeline occupies the bottom of the editor. This is where all your clips, audio, and overlays are arranged in order:
- Video tracks (V1, V2, etc.) — hold your video clips and photos
- Audio tracks (A1, A2) — hold your background music
- Overlay tracks (OV1, OV2) — hold text and image overlays
- Time ruler — shows time codes across the top
- Playhead — the vertical line showing where you are in the video
- Control bar — zoom, snap toggle, tempo sync, and fit button
The Right Panel (Clip Settings)
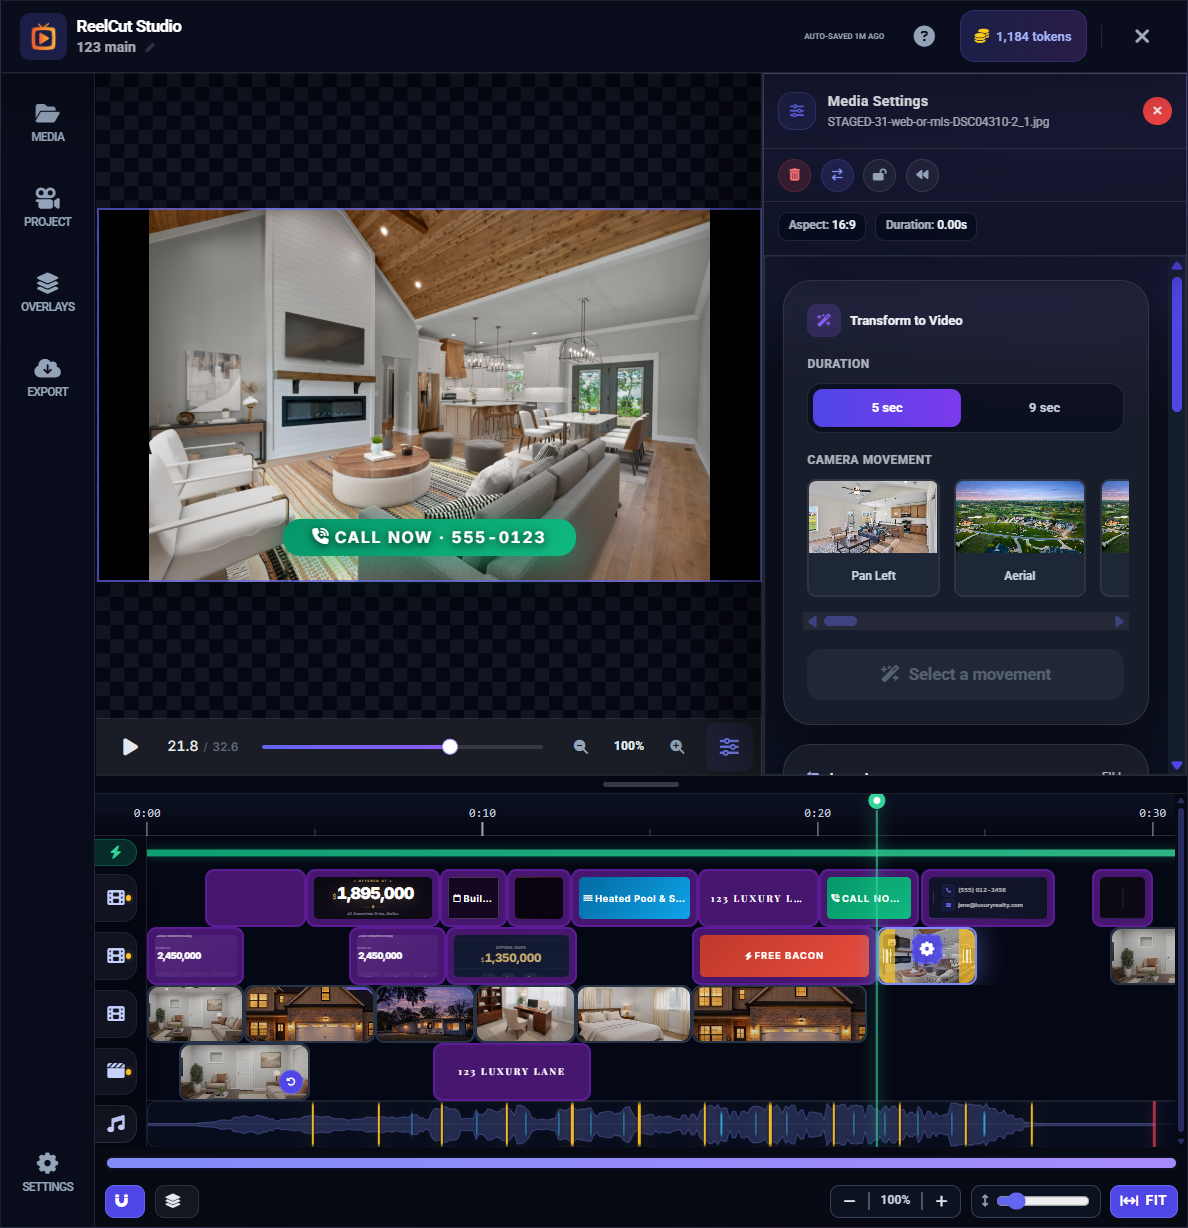
When you click a clip on the timeline, a settings panel appears showing options for that specific clip — fill mode, scale, position, and more. On desktop, this docks below the preview. On mobile, it opens as a tab.
Mobile Layout
On phones and tablets, the bottom of the screen shows a condensed navigation bar with icons for switching between the library, timeline, clip settings, and export panels. The layout adapts to smaller screens automatically.