
Where to Find It
Click the gear icon in the left sidebar to open the Project Settings panel.

Project Name
Your project name appears in the header bar at the top of the editor. To rename your project:
- Click on the project name in the header
- Type the new name
- Press Enter or click away — the name saves automatically
Aspect Ratio / Format
Your project's aspect ratio is set when you first create it:
- 16:9 Horizontal — Wide format like a TV screen. Best for YouTube, websites, and MLS listings.
- 9:16 Vertical — Tall format like a phone screen. Best for Instagram Reels, TikTok, and Stories.
The format defines the shape of your video frame and affects how clips are displayed within it.
Layout Modes
Each track can operate in one of two layout modes:
Sequential Mode (Ripple)
Free Mode (Absolute)
Alignment Guides
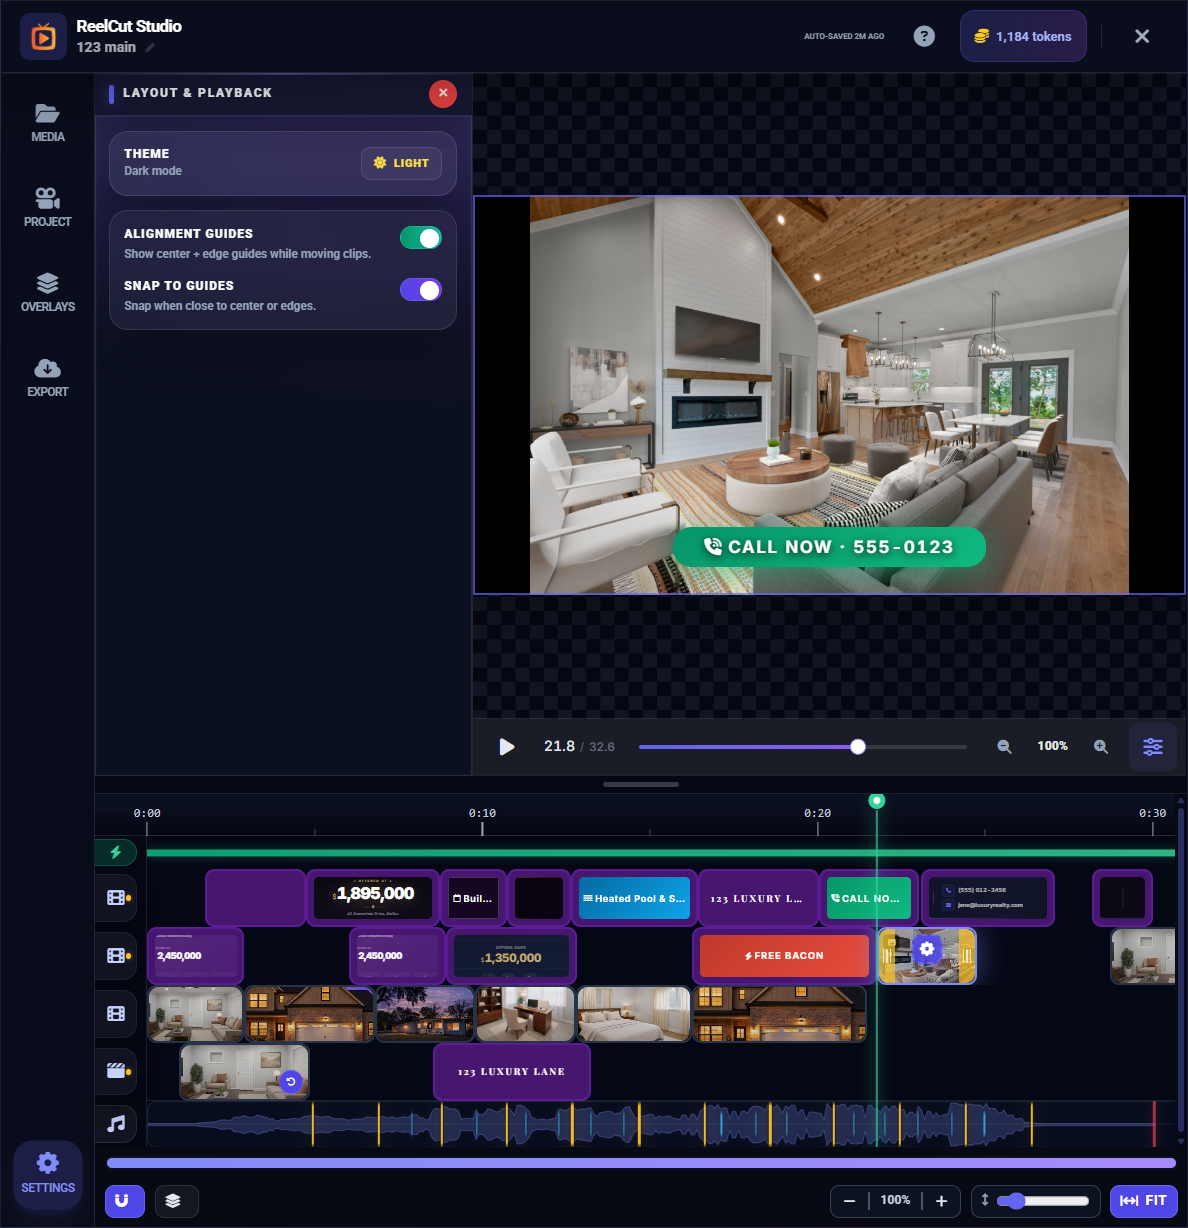
Toggle Alignment Guides to show vertical and horizontal guidelines in the preview area. These help you position overlays precisely — aligning text to the center or lining up logos with the edges of the frame.
Snap to Guides
When enabled, overlays automatically snap to alignment guides as you drag them, making it easy to achieve pixel-perfect placement without guessing.
Auto-Save
Your project saves automatically as you work. The header bar shows the last save time (for example, "Auto-saved 2 minutes ago"). You never need to worry about losing your work — it is continuously saved in the background.
Save as Draft
Click the Save button to manually create a named draft of your project. This is useful when you want to save a specific version with a descriptive name, like "Final Version" or "With New Music."
- Click the save button
- Enter a name for the draft
- Click Save Draft
- The draft appears in your Recent Drafts on the Welcome Screen