
Where to Find It
Click any clip on the timeline to select it. The Clip Settings panel opens automatically — on desktop it docks below the preview area, and on mobile it opens as a separate tab.
Fill Mode
Fill mode controls how your clip fits inside the video frame. This is especially important when a clip's dimensions do not match your project's aspect ratio.
- Fill — The clip is scaled up to completely fill the frame. Any parts that stick out are cropped away. This is the best choice for most real estate footage because it eliminates black bars and makes the video look polished.
- Fit — The clip is scaled to fit entirely within the frame without any cropping. If the aspect ratio does not match, you will see black bars on the sides or top and bottom (called "letterboxing").
- Stretch — The clip is stretched to fill the frame exactly. This may distort the image if the aspect ratios differ. Use this sparingly.
Scale
The Scale slider lets you zoom in or out on the clip:
- 100% is the normal size
- Increase to zoom in and focus on a specific area
- Decrease to zoom out and show more of the frame
Position
The X and Y position sliders let you move the clip within the frame. This is especially useful when you have zoomed in (scaled up) and want to focus on a particular area of the footage — like centering on a kitchen island or a backyard pool.
Reverse
Toggle Reverse to play the clip backwards. This creates a creative effect — for example, a drone flying away from a house could be reversed to look like it is flying toward it.
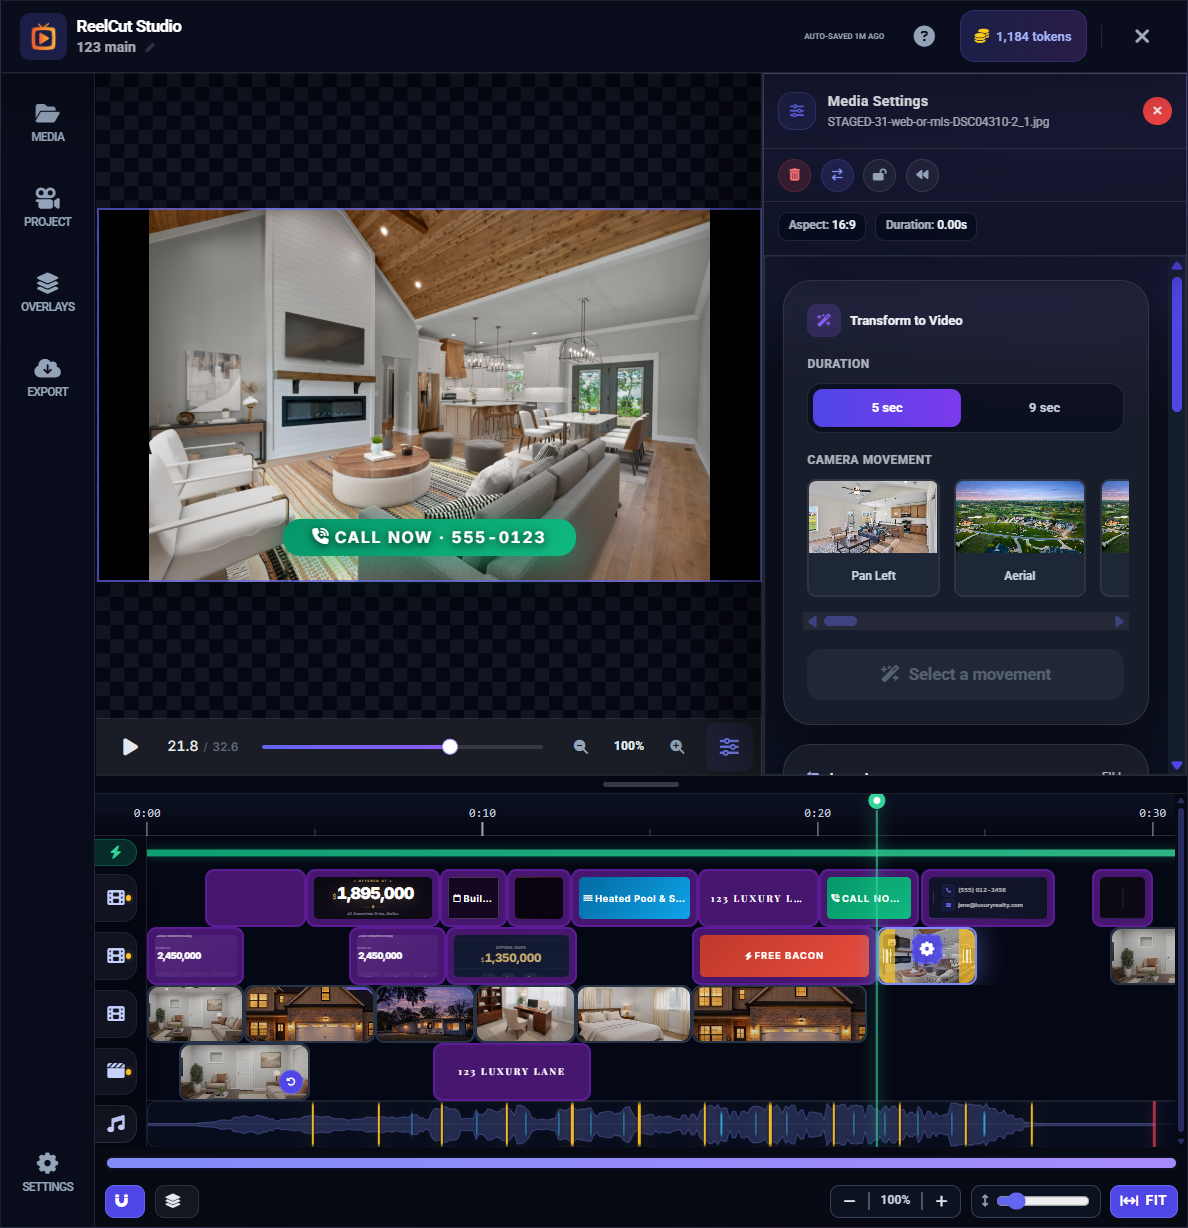
Image-to-Video Conversion
If your clip is a static photo, you can convert it into a video with AI-generated camera movement. This transforms a still image into a cinematic clip with smooth panning or zooming.
How to Convert a Photo
- Select a photo clip on the timeline
- Click the Convert to Video button in the clip settings
- Choose a crop area to define the aspect ratio
- Select the camera movement type and duration (5 or 9 seconds)
- Review the token cost — this feature uses tokens from your balance
- Click Start Rendering to begin the conversion
- Wait for processing to complete — the photo transforms into a video clip
Lock
Toggle the Lock to prevent accidental changes to a clip. A locked clip cannot be moved, trimmed, or deleted until you unlock it. This is useful when you have positioned a clip exactly where you want it and do not want to accidentally move it later.