
Where to Find It
Clips are the rectangular blocks on the timeline tracks. You interact with them directly on the timeline.
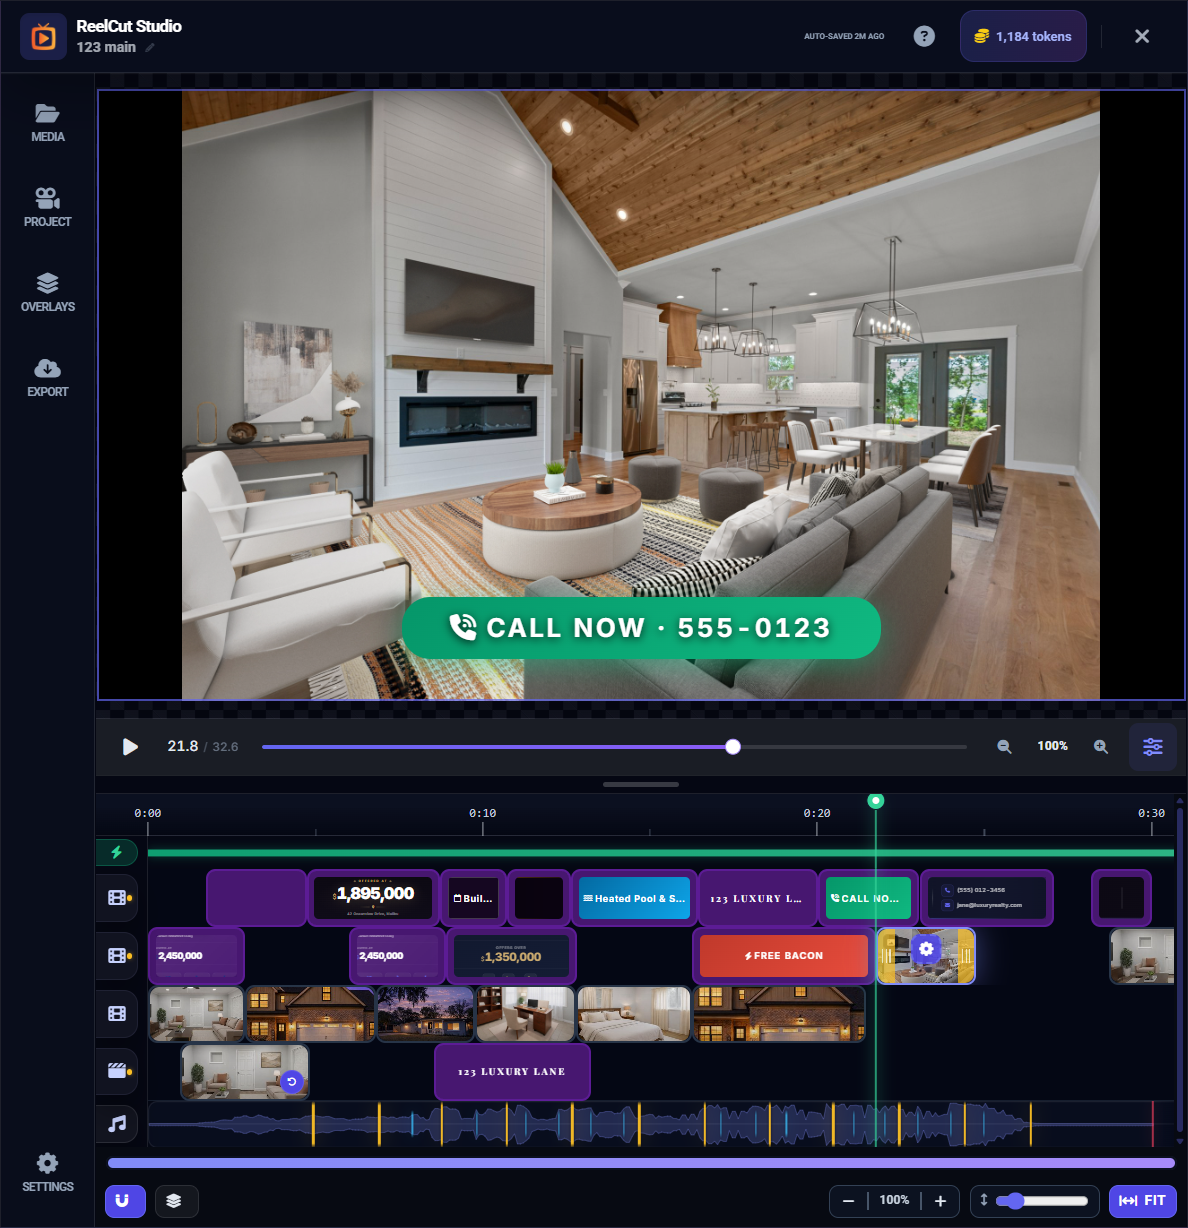
Selecting a Clip
Click on any clip in the timeline to select it. When selected:
- The clip gets a highlighted border
- The Clip Settings panel opens showing options for that clip
- The preview area shows the content at the clip's position
Moving and Reordering Clips
Within the Same Track
Between Tracks
Trimming Clips
Trimming means shortening a clip by cutting from the beginning or end — like cropping a photo, but for time. The original video is not deleted; you are just choosing which portion to show.
- Hover over the left or right edge of a clip — the cursor changes to a trim indicator
- Click and drag the edge inward to shorten the clip
- The clip shrinks and neighboring clips adjust (in Sequential mode)
While trimming, clips automatically snap to nearby beat markers, other clip edges, and the playhead for precise alignment (when Snap is enabled).
Slip Editing
Slip editing lets you change which portion of a longer video is visible within a clip, without changing the clip's duration or position on the timeline. Think of it like sliding a window along a filmstrip — the window stays the same size, but you see a different part of the footage.
The slip bar shows the full video length. Drag it to shift which part is visible.
Deleting a Clip
- Select the clip and press Delete or Backspace on your keyboard
- Or right-click the clip and choose Remove from the context menu
- A confirmation dialog appears to prevent accidental deletions
Replacing a Clip
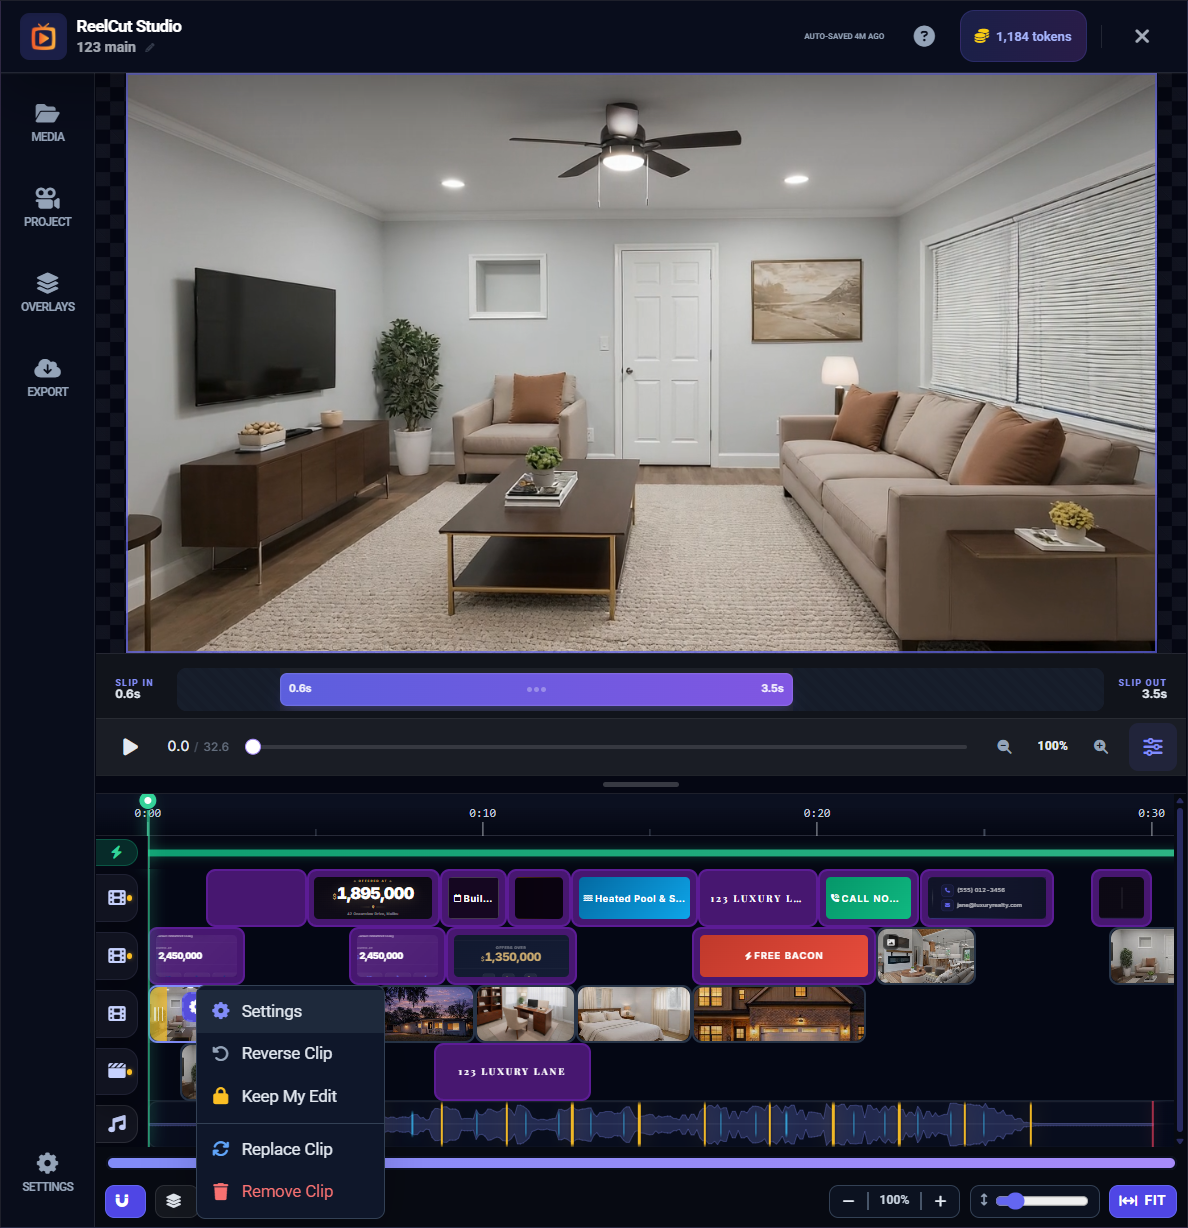
- Right-click the clip you want to replace
- Select Replace Clip from the context menu
- The Media Library opens in replace mode
- Click the new video or photo you want to use
- The old clip is swapped out for the new one, keeping the same position and timing
Multi-Select
Select multiple clips at once for bulk operations:
- Ctrl + Click (or Cmd + Click on Mac) — Toggle individual clips in and out of the selection
- Shift + Click — Select a range of clips on the same track (from the last-clicked clip to the current one)
With multiple clips selected, you can delete them all at once.
Locking a Clip
Lock a clip to prevent accidental moves or edits. A locked clip shows a lock icon and cannot be dragged, trimmed, or deleted until you unlock it. Toggle the lock in the clip settings panel.
Ghost Previews
When you drag a clip, a semi-transparent "ghost" appears at the potential drop position. This visual feedback helps you see exactly where the clip will end up before you release it.